How to Clean Your Makeup Brush the Economical Way
-
Dish Washing Liquid with Anti Bacterial (I use Sunlight)
-
Extra Virgin Olive Oil
-
Milk Shower Gel (I am using Dove or Johnson’s PH 5.5)
-
Face Towel
-
Kitchen Anti Slip Rubber Mat
-
Empty plate or anything to hold the cleansing mixture
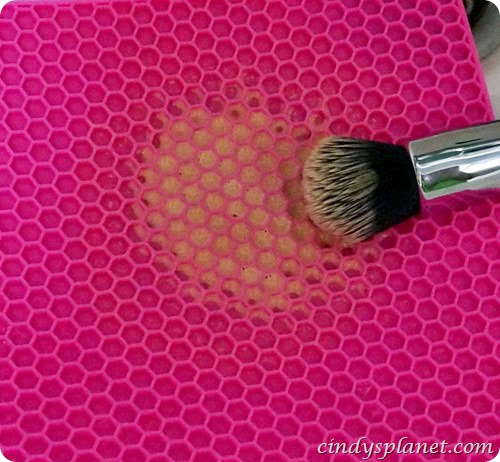
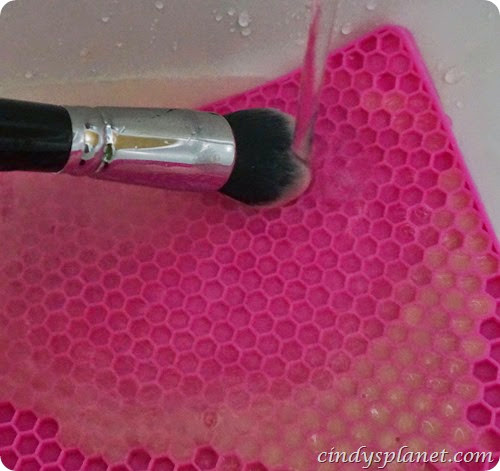
You need expensive brush cleanser, most ingredient can be find in major supermarket which cost you a few bucks…I pour the dish washing liquid and olive oil into these smaller bottle for easy handling!! You can use it straight from it’s original bottle. Also you may ask why we need the Kitchen anti-slip rubber mat? This rubber mat will help to scrap off the product from the brush easily compare to your palm. You can get this rubber mat at Daiso for only RM 5 or find it at Kitchen supplies area in any supermarket.
The dish washing liquid is the best choice to clean makeup brushes especially foundation and eyeliner brush as they contain thick and oil based product. The dish washing liquid will also help to disinfect the brush. The extra virgin oil is to recondition the brush hair since using Dish Washing Liquid will make the hair becomes very dry.
I actually learn this technique from Michelle Phan blog and I have improvise the formula and steps to better cleanse my brushes.
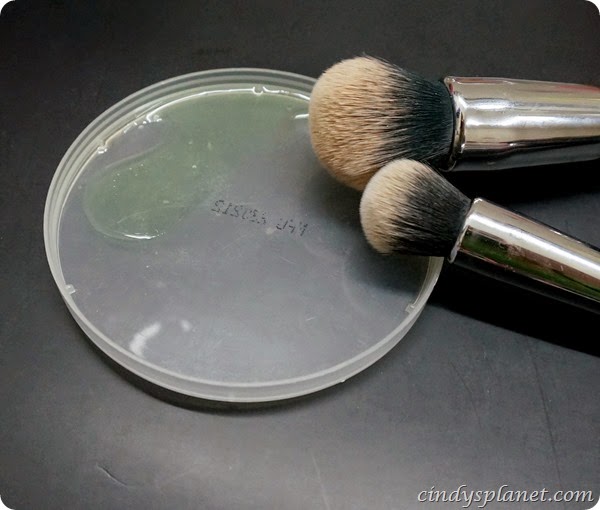
1. So first prepare the cleansing mixture by mixing 2 part of Dish Washing Liquid and 1 part of Extra Virgin Olive Oil onto a plate or any plastic tray. (Michelle Phan using 1 1/2 part of olive oil). The reason behind is I find 1 1/2 part is way too oily for my brush so I reduce it!
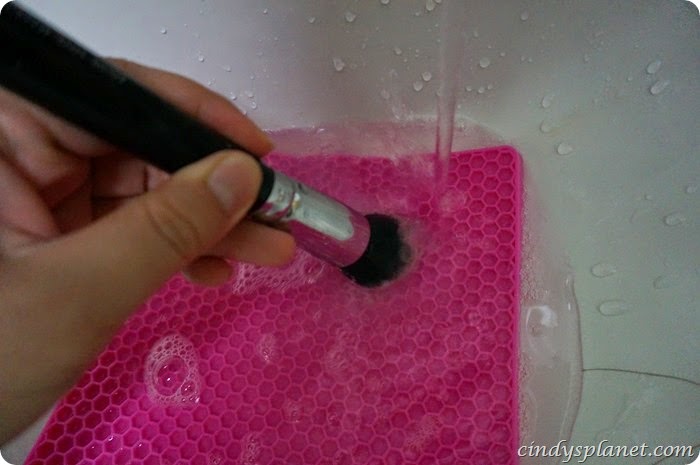
2. Dip your brush into the cleansing mixture and swirl the brush (swirl lightly no pressure is require) onto the rubber mat in order to let all the oil, dirt and the product to scrape off from the brush. For Gel Eyeliner Brush (typically those bent type with fine tip), I recommend skip the mat and just swirl them on your palm as the hair is stiff and tiny the rubber mat may spoil them.
3. Turn on the tap water so let water run through the brush as you continue to swirl to rinse away the cleansing mixture and product.
4. Then take some of the milk shower gel to double cleanse the brush by swirling on the mat again. As I fill by just rinsing with water the olive oil still linger inside the hair so I use milk shower gel to double clean the brush and since we have already disinfect the brush we don’t need a anti-bacterial brush cleanser. Also milk shower gel help to condition the hair as well while ensuring the remaining dirt is cleansed.
5. Again rinse with water with swirling motion on the mat. Gently squeeze the excess water from the brush hair and use face towel to gently wrap it around to absorb the water for quick drying process.
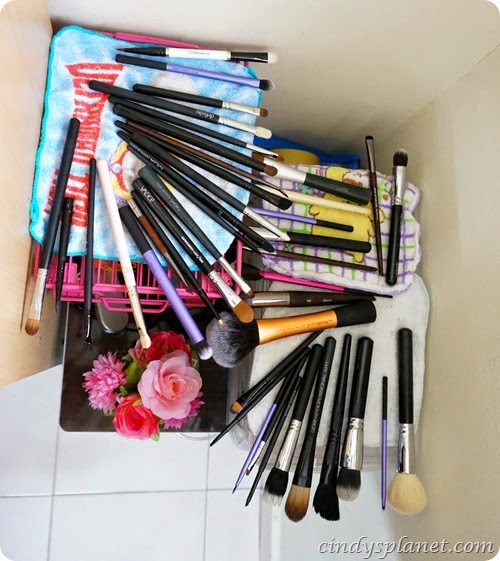
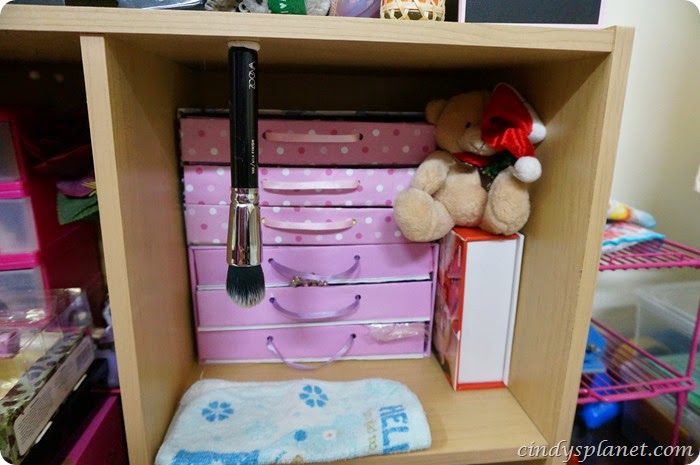
6. Shape your brush to original shape else when your brush dry it will follow the shape when it’s still wet. Lay your brush on a dry and shaded area to air dry them. Do not put under direct sun. Also make sure your brush hair is hanging outside of your drying surface (not toughing the surface) to avoid brush running out of shape. Ultimately, if you have space you can hang them to dry them with the hair facing downward. It is important that you should not hang your brush upside down where the hair facing upward as the water will flow back to the ferule which cause the glue to loosen up! Usually I wash them in the evening and let it dry overnight. Usually when I wake up the next morning all my brush is dry and soft. ^^ Oh yes do not blow dry them as it will damage the hair!!
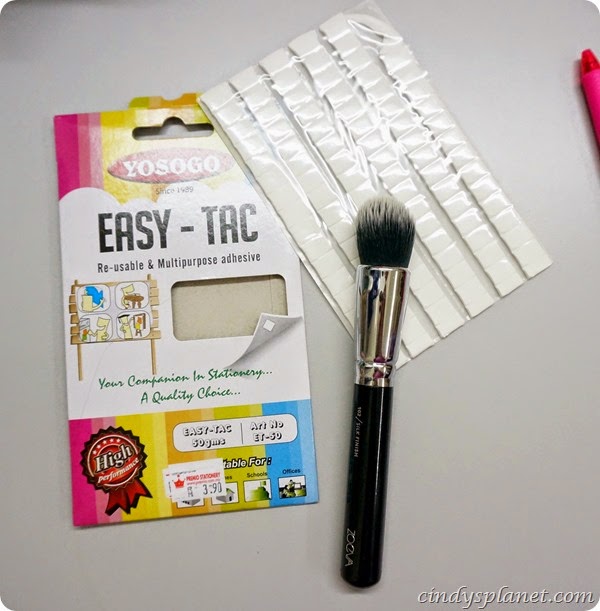
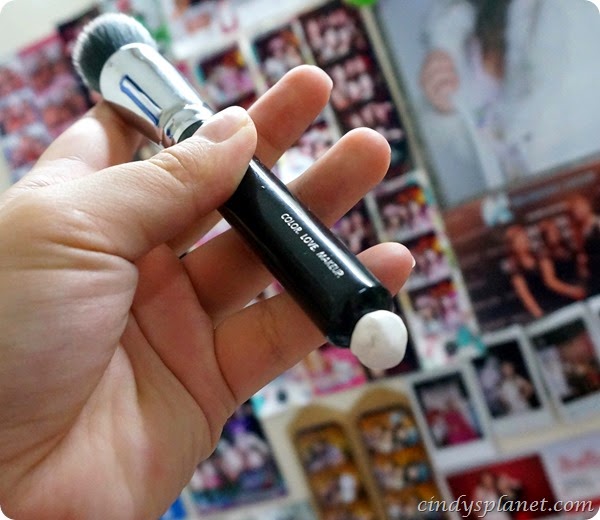
I also found another way to hang my brush with shorter time compare to using the clip!! I use this tic tac which I use it to stick notes of photos on my wall!!
So what I do is make the tic tac in round shape and stick it to my brush end and find any area in my room and stick it to it!! The tic tac can be reuse and will not cause any scratched to my brushes!! Using clip for long time may cause the paint on the brush to be scrape off…. To avoid them you need to insert fabric or sponge in between when you clip them… Extra work require so I thought tic tac is so cool!! Tic Tac can be found at any stationary shop!!
Make sure you lay a towel on the bottom of the area where you hang you brush especially if it’s wooden surface so that water will not drip onto your wood or any other surface!
Nah here I show you the difference on just using milk shower gel to clean, Dish washing Liquid + Extra Virgin Olive Oil and washing without using rubber mat.
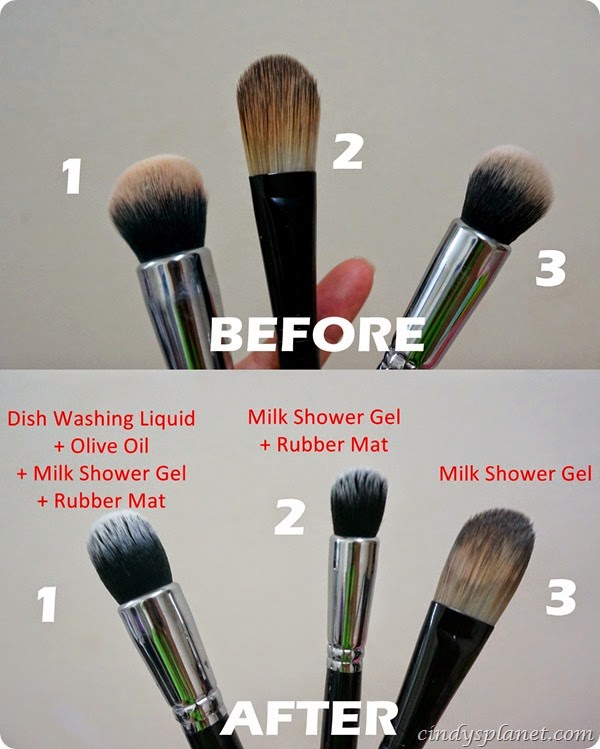
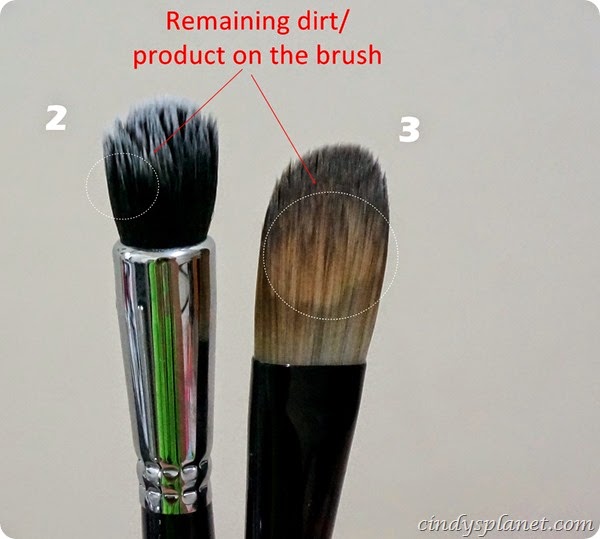
Using the rubber mat really help scrape of product easily… Look at the brush on the left even thought I just milk shower gel but most product and dirt is gone… The one on the right still contains many product and dirt and require multiple swirl on palm to get them off…. So the best is still the first brush which is using the mixture I mentioned earlier.
Alright, i think that’s all from me today. Hope this post is informative for some of you. See you again tomorrow same time.

You May Also Like

THE SUMMER SHOE EDIT
September 1, 2017
Newbies & Haul October & November 2015
November 3, 2015



18 Comments
Princess Neverland
wah I like the tic tac tips! I love this post Cindy! very useful yo!
LauraLeia
Wow, I never thought of using the blue tac to dry them like that! 😀 I thought of using the clothes pin trick, but my room dun have place to pull the string and 'kiap' them, lol. Thanks for the tips! 😀 I don't have a lot of brushes so I just use the Daiso brush cleanser, hehe~
noor azimah
great idea..but dish washing liquid?? i think its not suit as well because we use this brush for swipe our face rite?
cindy tong (cindysplanet.com)
yes because it can remove all the oil product effectively like foundation and gel liner… also it has antibacterial properties…. and yes dis washing liquid may cause hair become dry thats when olive oil come into the recipe to help nourish the hair… u can try google many beauty gurus are using this dish washing liquid like michelle phan.
Camy
thanks for the info! so useful (y)
Melissa Mah
Thanks for sharing the tips Cindy, I've been washing my brushes with ELF brush cleanser + olive oil too. Was wondering what to use to scrub the dirt off, I basically use my hand and a 'botak' brush, the ones where the bristles all fall off adi, so there's some rough edges to scrub the makeup residue. Will look out for the kitchen item when I go DAISO the next time around. At least I don't need to splurge on the sigma glove.
Mieza Everdeen
ooo great tips! thanks for sharing about the Easy Tac thingy babe, I never thought of it! I use Daiso brush cleaner liquid to cleanse my brushes, then go over again with Dove shower cream. I usually clip my brushes with clothes peg to ensure it is facing downwards but sometimes huge handles wont fit. I will get the Easy Tac a.s.a.p!
cindy tong (cindysplanet.com)
i also have daiso brush cleanser but I have not compare the efficiency yet..once I do I will update in this post….like I say clothes peg might scratch the brush body paint so tic tac is better to protect the brush and also easier to use than peg!but if u can try get the same brand with mine as i found this brand is more sticky than other!! UHU brand not so sticky!
cindy tong (cindysplanet.com)
yeah no nd to buy the expensive sigma glove la..alternatively you can make your own board with threading for easy scrubing like how thechency.com do…
cindy tong (cindysplanet.com)
no prob babe..how do you usually clean you brushes?
cindy tong (cindysplanet.com)
i havent try daiso cleanser but later I'll try to see it's effectiveness!!!yeah the tic tac so useful!!!try to get the similar brand….but I dont see this brand in popular though..you can get the shop near my office la..call me if u wan to know the exact location!
cindy tong (cindysplanet.com)
glad it's helpful to you!!how u usually wash your brushes?
Mieza Everdeen
I am only familiar with the tic tac from brand Faber Castell, I havent found others yet. But I will look out for this Easy Tac, hopefully it is available here ^_^
Camy
i dont make up my dear, haha
Christine
I use a mixture of face cleansing oil and anti-bacterial body wash to clean. And I dry them upside down by clipping the brush to a hanger. The blu-tack thing is a great idea. Shall try that next time.
cindy tong (cindysplanet.com)
I used to use the face cleansing oil but i find them too oily and not effective…mayb you can try dish washing liquid next round…. oh let me know once you try the tic tac it see if it's usefull…have nice day dear!!
cindy tong (cindysplanet.com)
i hv not try faber castel though..they are in green colour thats y I have not buy faber castel ones…lol
cindy tong (cindysplanet.com)
oh time to explore something new!!!hehehe